Migrate MS Access Online
Summarized Video Transcript
Part 2 will show you how to import your Access data and database tables into Caspio.
This Access application has a total of five tables.
Those three that we’re importing into Caspio are the Users table, Bugs table and Comments table. The reason why all five tables won’t be imported is because the Filters table and the Settings table are unique to the offline application. We won’t be needing those two inside our web app.
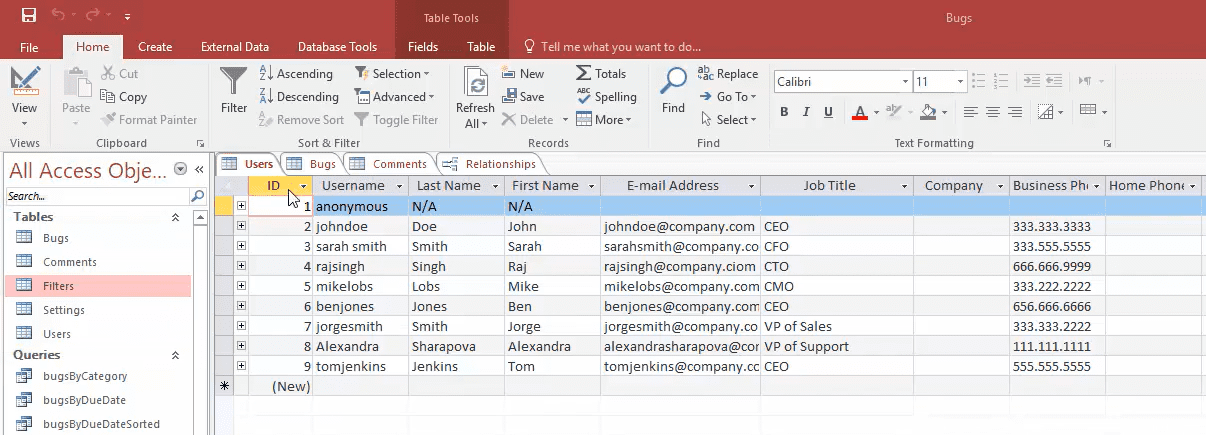
The tables we’ll import are also populated with fictitious data to show you how we can bring them into Caspio.
Since you can’t import your entire Access database, forms and reports will need to be recreated in Caspio.
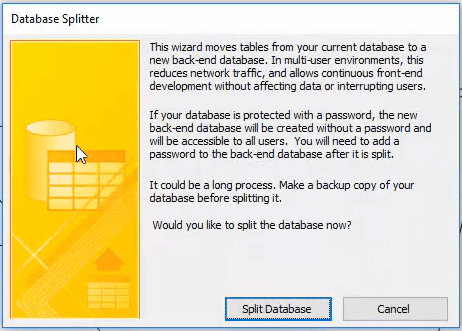
Splitting Your Access Database
Access allows you to split your database into two files:
- One that contains your forms and reports
- Another that contains your tables, data and relationships
To do that in MS Access, follow these simple steps:
- Click the Database Tools tab on top.
- Click the button that says Access Database.
- In the resulting popup window, click the button that says Split Database.
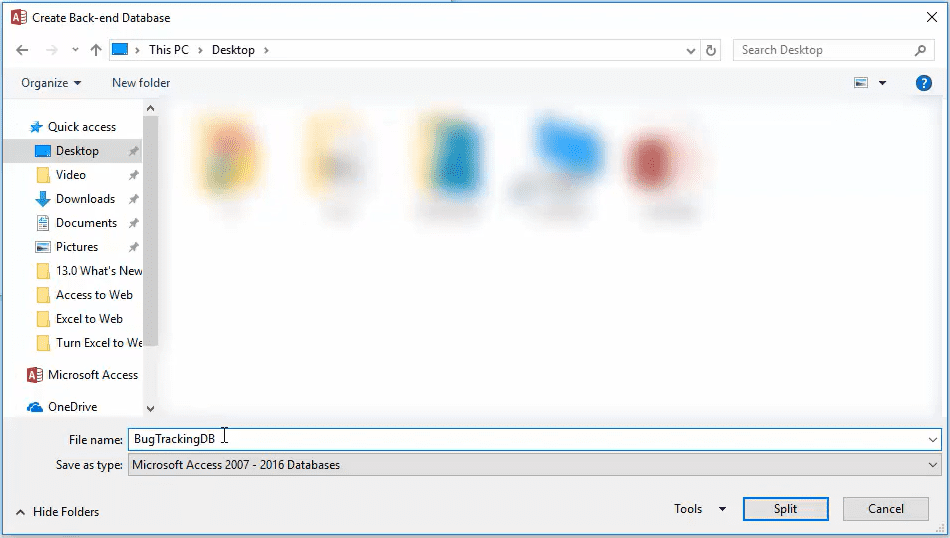
- In another popup, save your tables to your Desktop.
- Name your file, BugTrackingDB.
- Click the button that says Split.
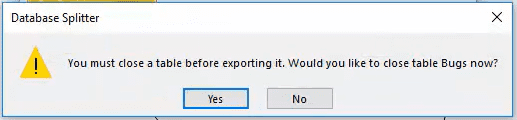
- When you’re prompted to close some tables, click Yes.
Uploading and Configuring the Access File
Once you’re logged inside Caspio, click the New App link on top. You’ll then be given two ways to begin:
- By importing your existing data
- With a blank app
Since you already have your Access database, follow the steps below:
- Click Start by importing data.
- Input Bug Tracking DB when prompted to name your app.
- Click Choose File.
- Locate BugTrackingDB.accdb in your desktop, then click Open.
- Click Next when you’re done.
- Click Next one more time when file upload is complete.
You’ll now see a list of all your tables for import on the following screen. As mentioned before, there is no need for the Filters table and Settings table. Go ahead and disable both of those tables by unchecking their boxes in the Source Object column.
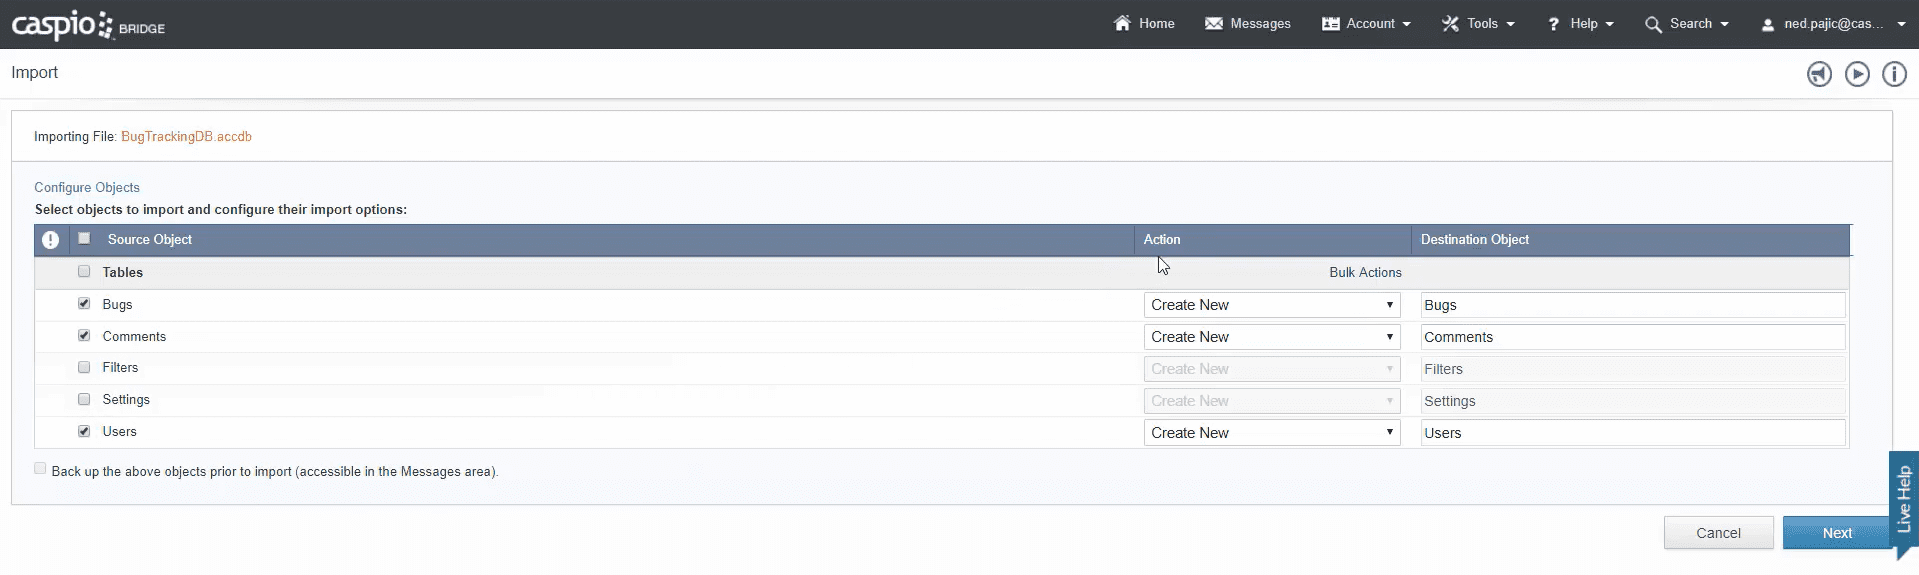
Using the Action column, you can specify how you want to bring the tables and data into Caspio. Since you are bringing the Bugs, Comments and Users tables for the first time, select the action called Create New. Other options include Replace, Append, Update and Update Design.
In the Destination column, you can rename the table to something else. Keep the names as is for now and continue to the next screen by clicking Next.
Note that you can do the following on this screen:
- Toggle back and forth between your tables to see the sample data
- Include or exclude a specific field that you’re importing
- Change the data type of each one of your fields
Go through each one of your tables now and make sure your data types are set up correctly:
Table 1: Bugs (New)
- Change the ID data type from Integer to Autonumber. This will automatically flag it as a unique ID.
- The fields AssignedTo and OpenedBy serve as foreign keys and need to remain as integers. This is because the unique ID being stamped is an Autonumber (from the Users table). Since the Autonumber data type will only generate whole numbers, the integer data type must be used on the related table.
Table 2: Comments (New)
- Change the ID data type from Integer to Autonumber. A new ID will now be added for each new comment, similar to your bugs table.
Table 3: Users (New)
- Change the ID data type from Integer to Autonumber as well.
Note that these changes can be made even after your import.
Click Import to finalize the upload of your database file.
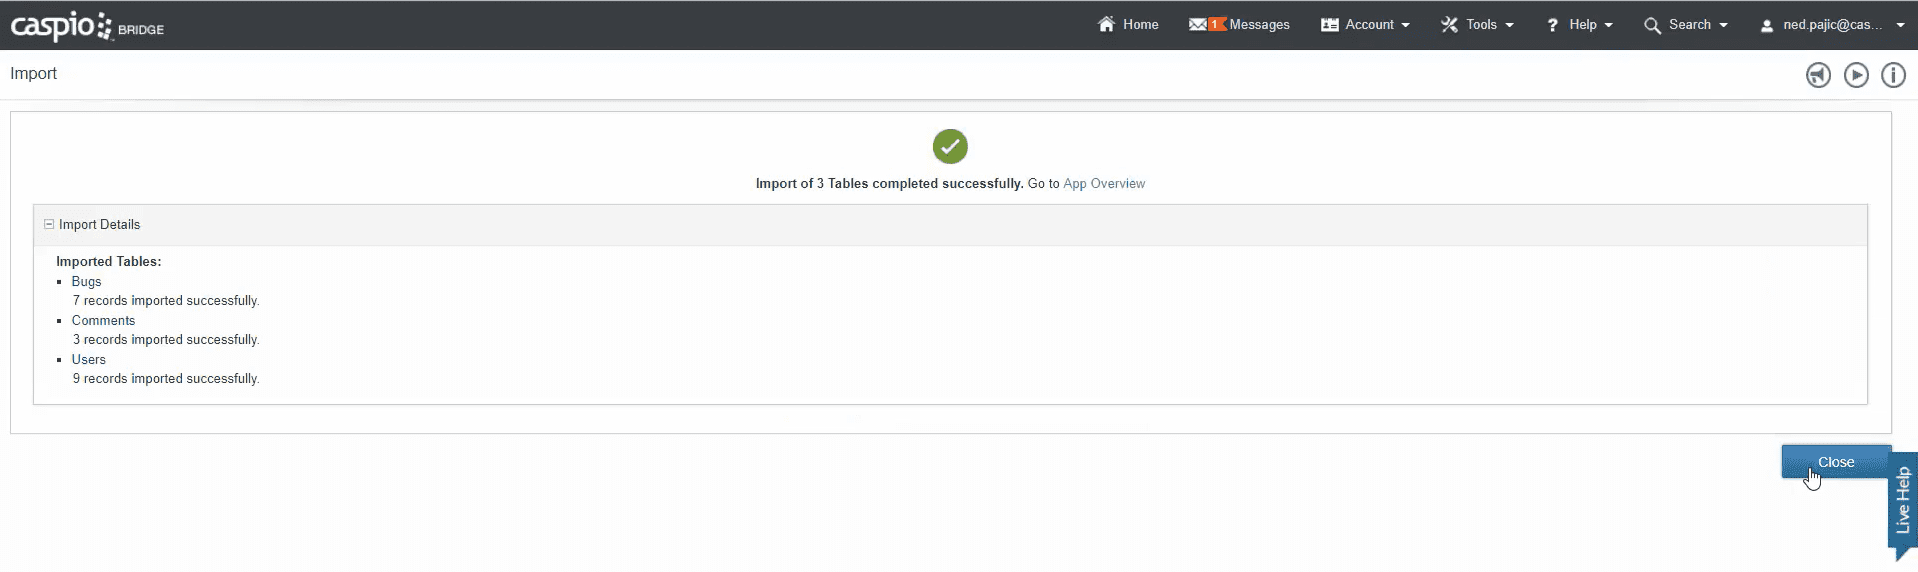
Once the import is complete, click the Close button.
Creating Additional Tables
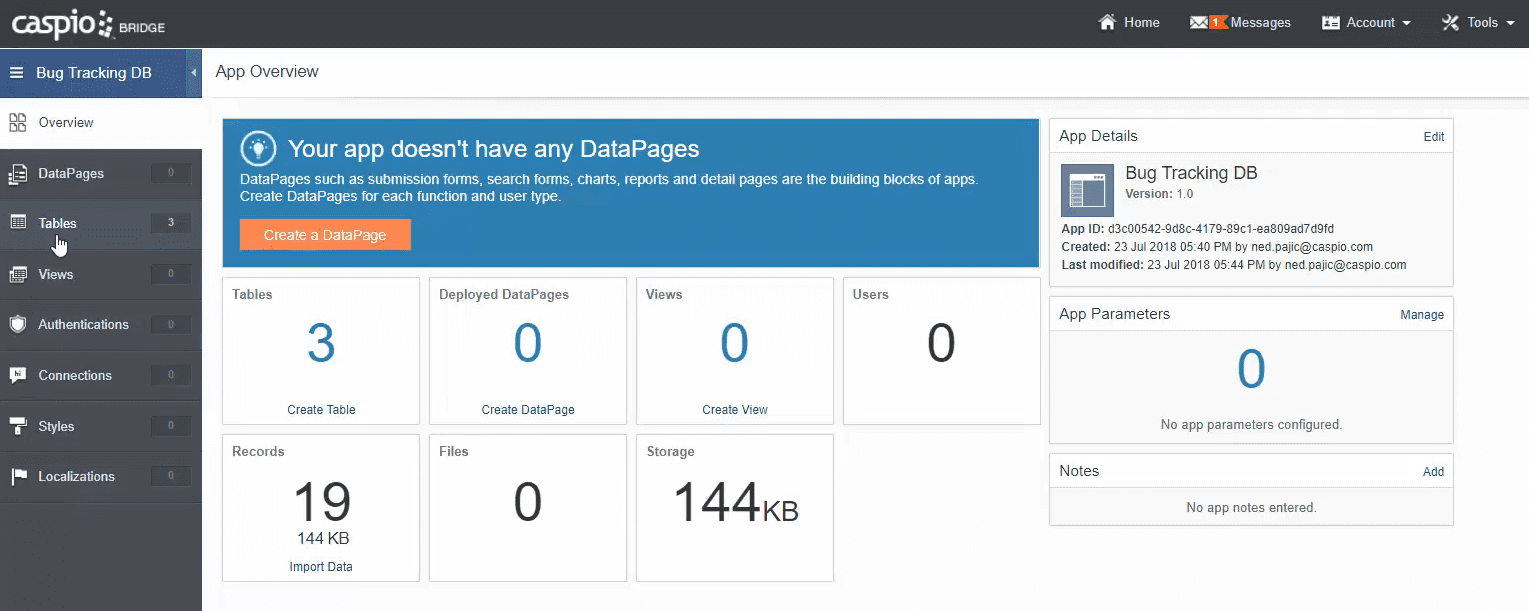
Click the Tables object on the left-hand panel of the overview screen.
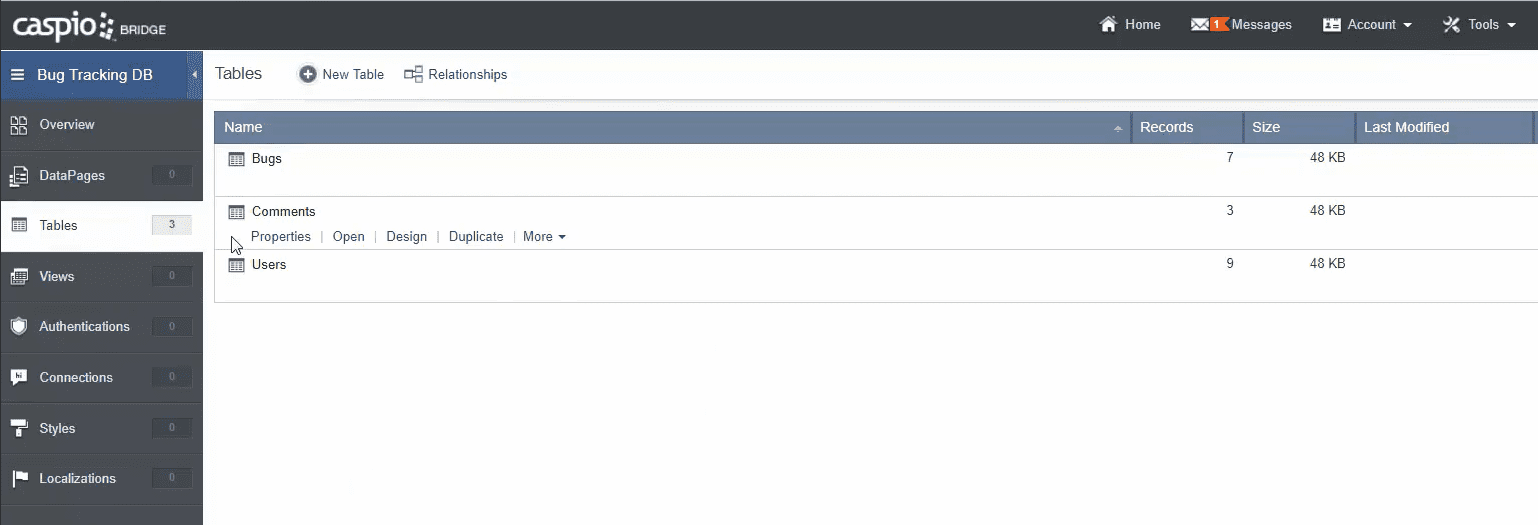
Here you’ll find all three tables you’ve imported. Clicking Open on any one of them will allow you to view the data stored inside. You can also rename, modify, delete and add fields by clicking Design.
All you need to do here is create three lookup tables that you can use as dropdowns for your app.
A quick note before you begin — every single table that you build should have a primary key to identify all the records in the database. You should always get into the habit of creating a unique ID first.
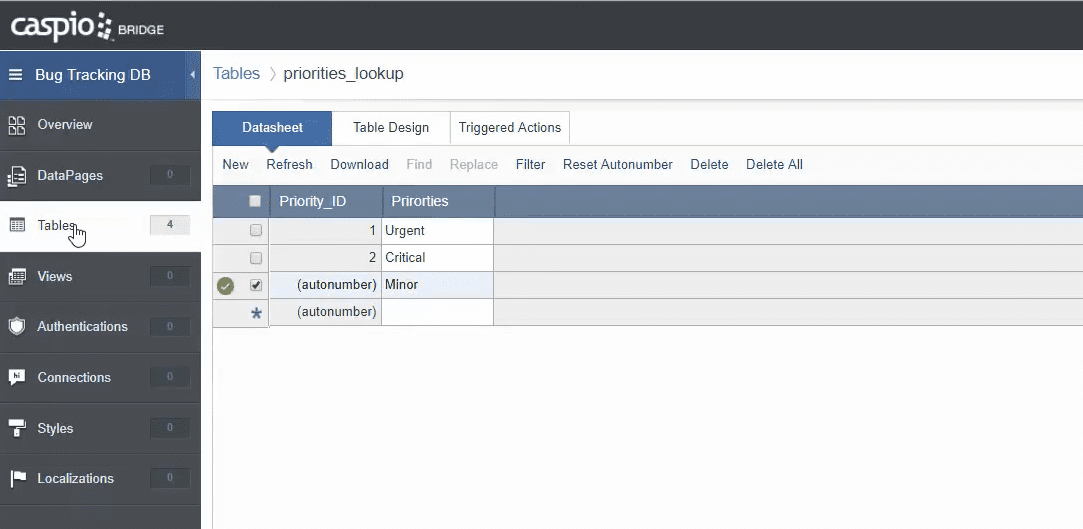
NEW TABLE 1: priorities_lookup
Go back to the main Tables menu and click the New Table link on top, then add the following fields under Name with their corresponding DataType:
- Priority_ID – Select Autonumber as the DataType.
- Priorities – Select Text (255) as the DataType.

Once you’re done inputting both fields: hit Save, name this table priorities_lookup, then click Finish.
You’ll need to input some values on this lookup table next, so Open this table’s container and quickly add the items below in the Priorities column:
- Urgent
- Critical
- Minor
NEW TABLE 2: status_lookup
Go back to the main Tables menu and click the New Table link on top, then add the following fields under Name with their corresponding DataType:
- Status_ID – Select Autonumber as the DataType.
- Status – Select Text (255) as the DataType.
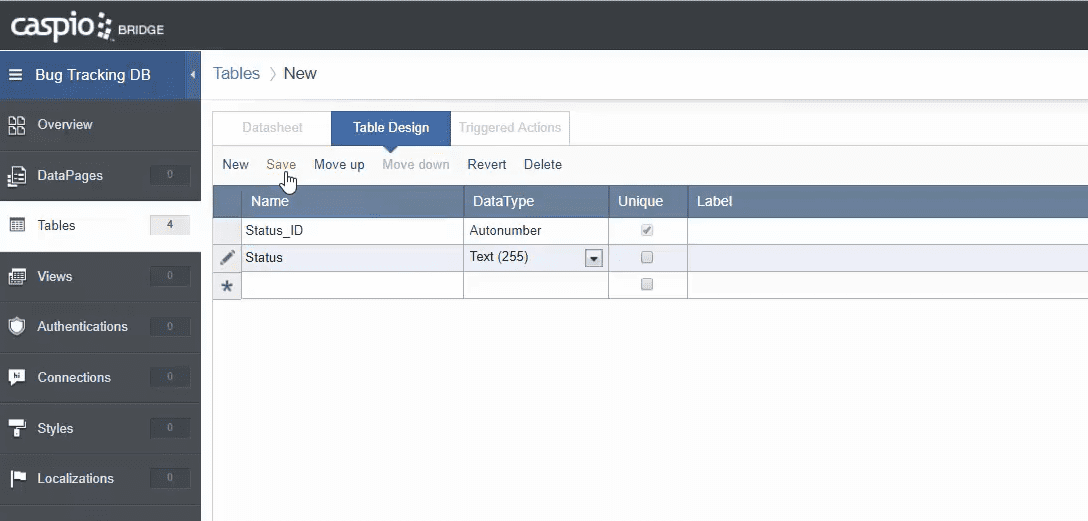
Once you’re done inputting both fields: hit Save, name this table status_lookup, then click Finish.
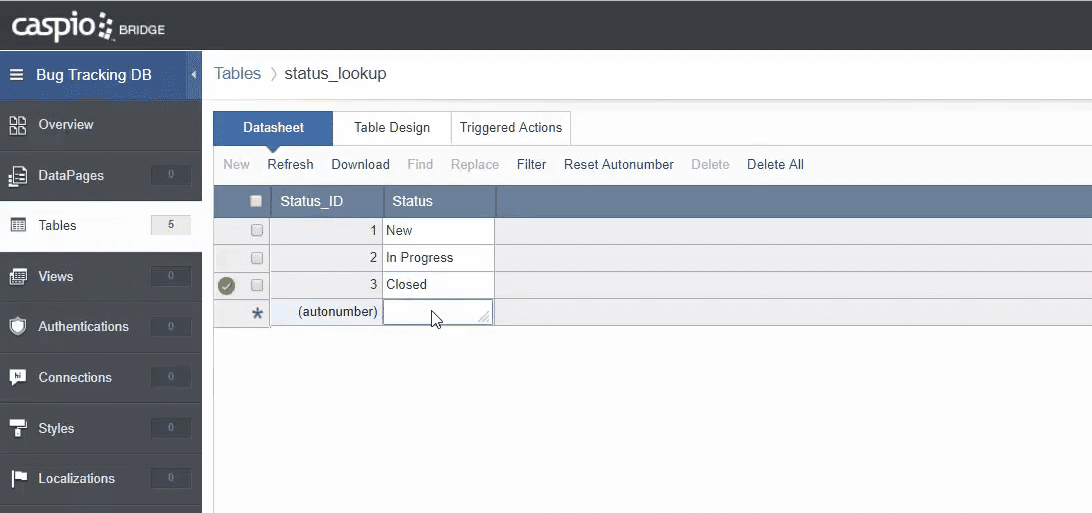
Next, Open this lookup table and add the items below in the Status column:
- New
- In Progress
- Closed
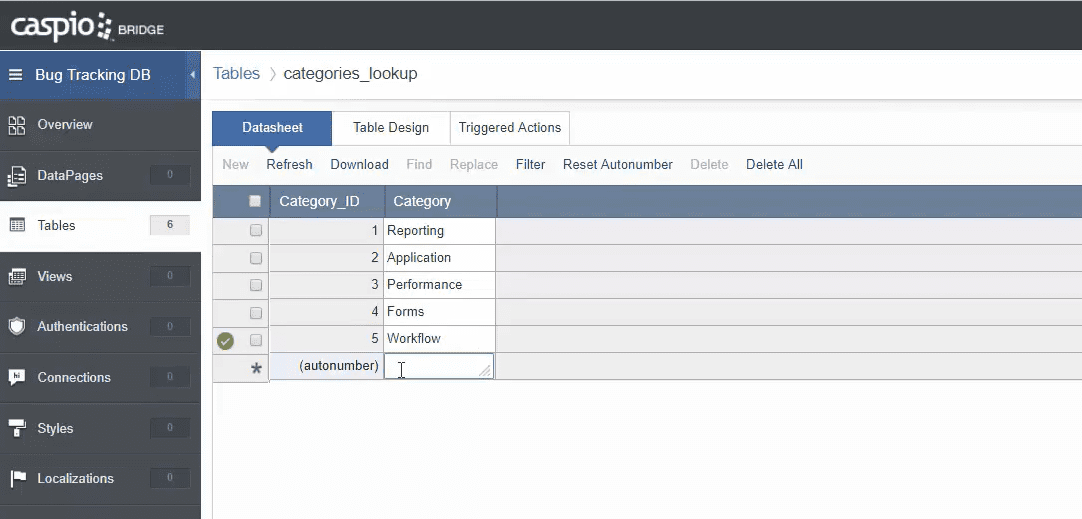
NEW TABLE 3: categories_lookup
Go back to the main Tables menu and click the New Table link on top, then add the following fields under Name with their corresponding DataType:
- Category_ID – Select Autonumber as the DataType.
- Category – Select Text (255) as the DataType.

Once you’re done inputting both fields: hit Save, name this table categories_lookup, then click Finish.
Next, Open this lookup table and add the items below in the Category column:
- Reporting
- Application
- Performance
- Forms
- Workflow
Go back out to the Tables menu when you’re done.
You could also create these tables in Access and import them straight into Caspio, but we wanted to show you how to build tables directly inside the platform. Importing tables from an Excel file is also an option.
Configuring Your Users Table
In order to create a login interface, there is one minor modification you’ll need to make. Click the Design link on your Users table to get started.
You can either allow your users to log into the app with a unique username, or do the same using the email field. Whatever preference you have, you can give them login access with any set of credentials.
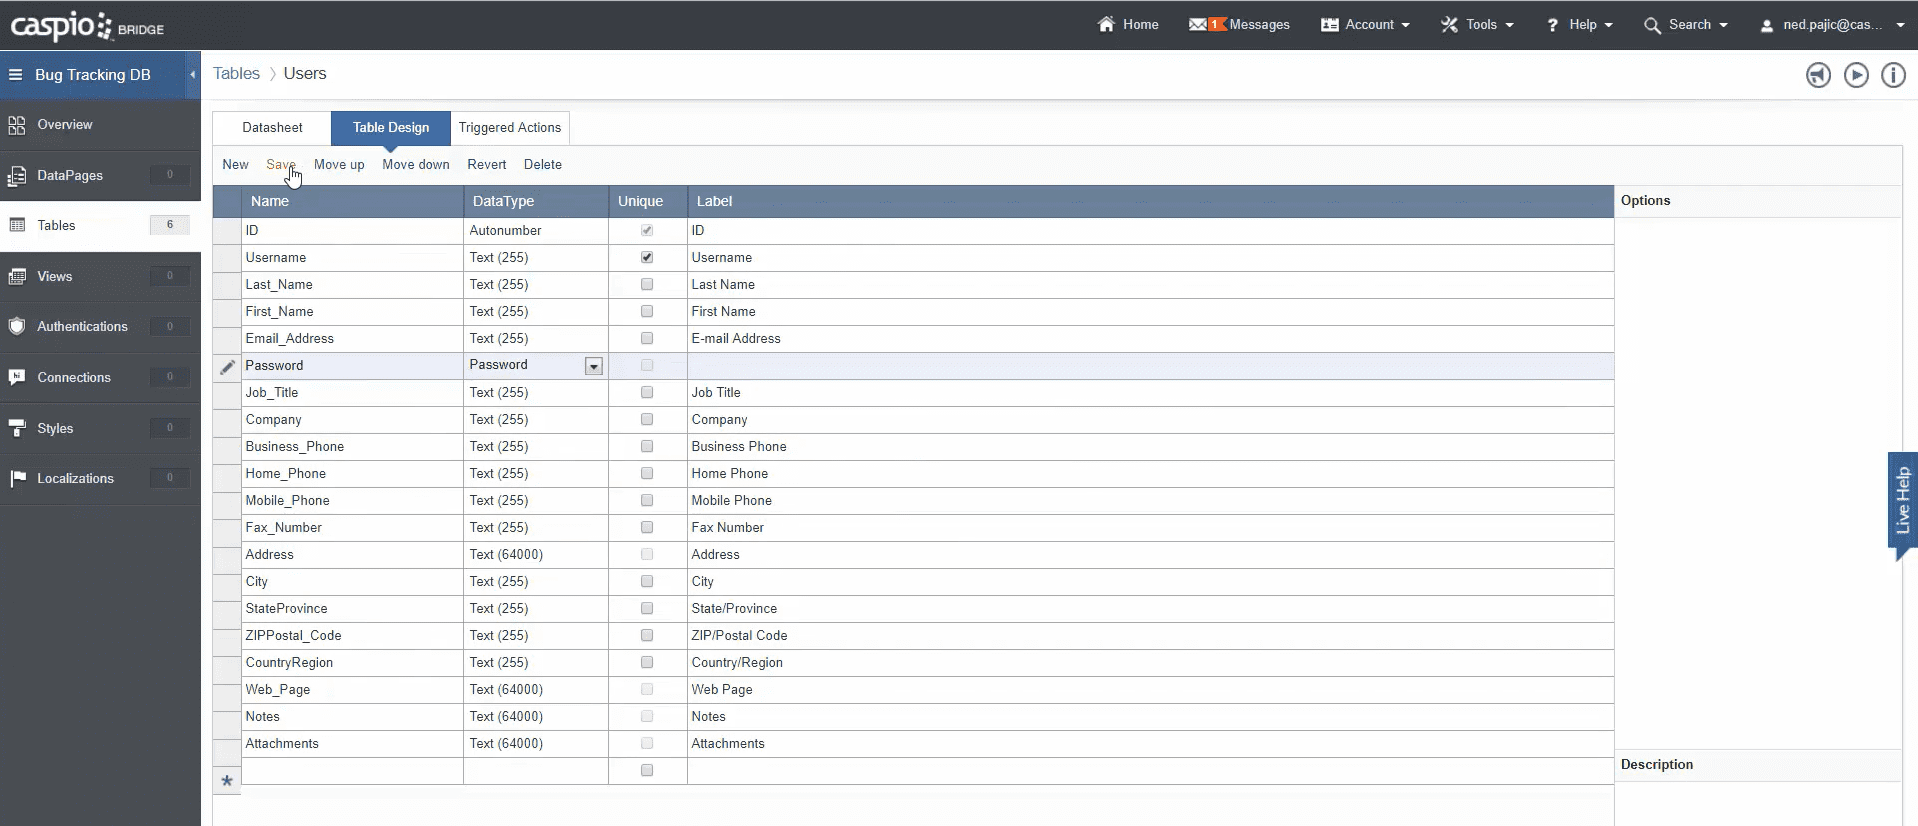
We will be using the Username field for this example, and add a Password field as well to the table. Simply follow the steps below to make these changes:
- Find the Username field and check the box under Unique.
- Type in Password under Name at the bottom of your list of fields.
- Select Password as the DataType to make the field encrypted.
- Make sure the Password field is selected and click the Move up link on top until it’s sitting under Email_Address.
- Click Save for your changes to take effect.
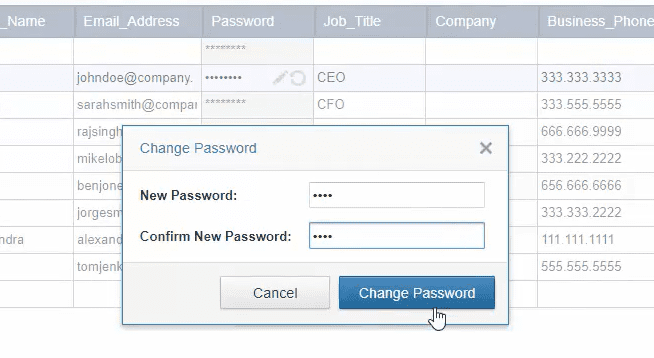
- Click the Datasheet tab on top to view and edit data inside the table.
- Find the the username, johndoe, then click the edit symbol of his Password
- In the popup window that will appear, in the text box for New Password, input test.
- In the text box for Confirm New Password, input test once more.
- Click Change Password.
- Close the confirmation message.
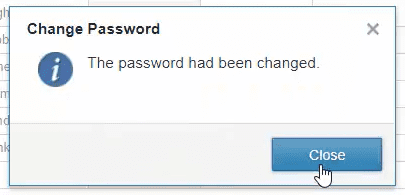
Remember that John’s password is now test. We will be using his credentials as we build the app.
See You in the Next Video!
You now know how to import your Access database into Caspio. You also learned how to build new tables and manipulate some of the data elements to maintain application integrity.
In the next video, we’ll teach you how to build a login interface.
Next Steps

NEW IDC WHITE PAPER

TALK TO AN EXPERT

SEE CASPIO IN ACTION

© 2024 Caspio, Inc. Sunnyvale, California. All rights reserved.